
Last updated November 15, 2026
 Wrought iron
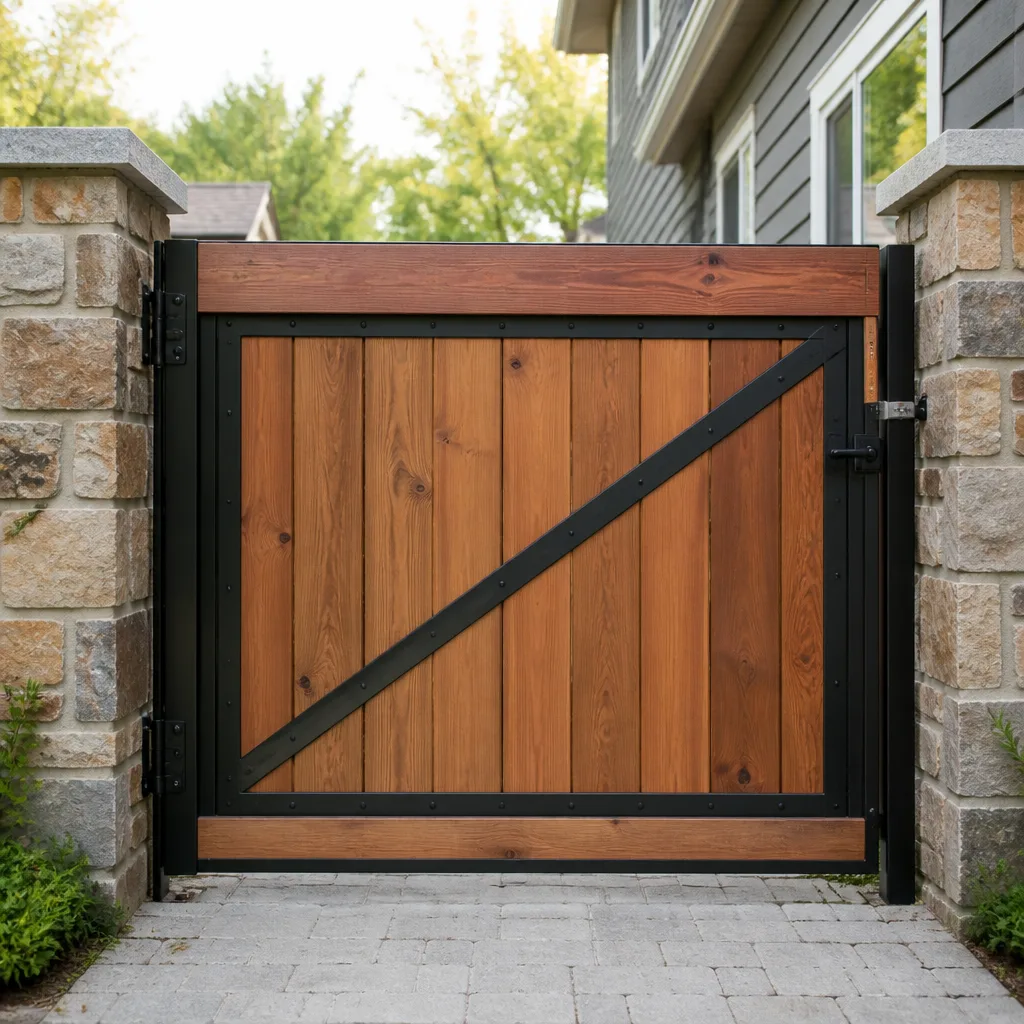 Wood & steel frame
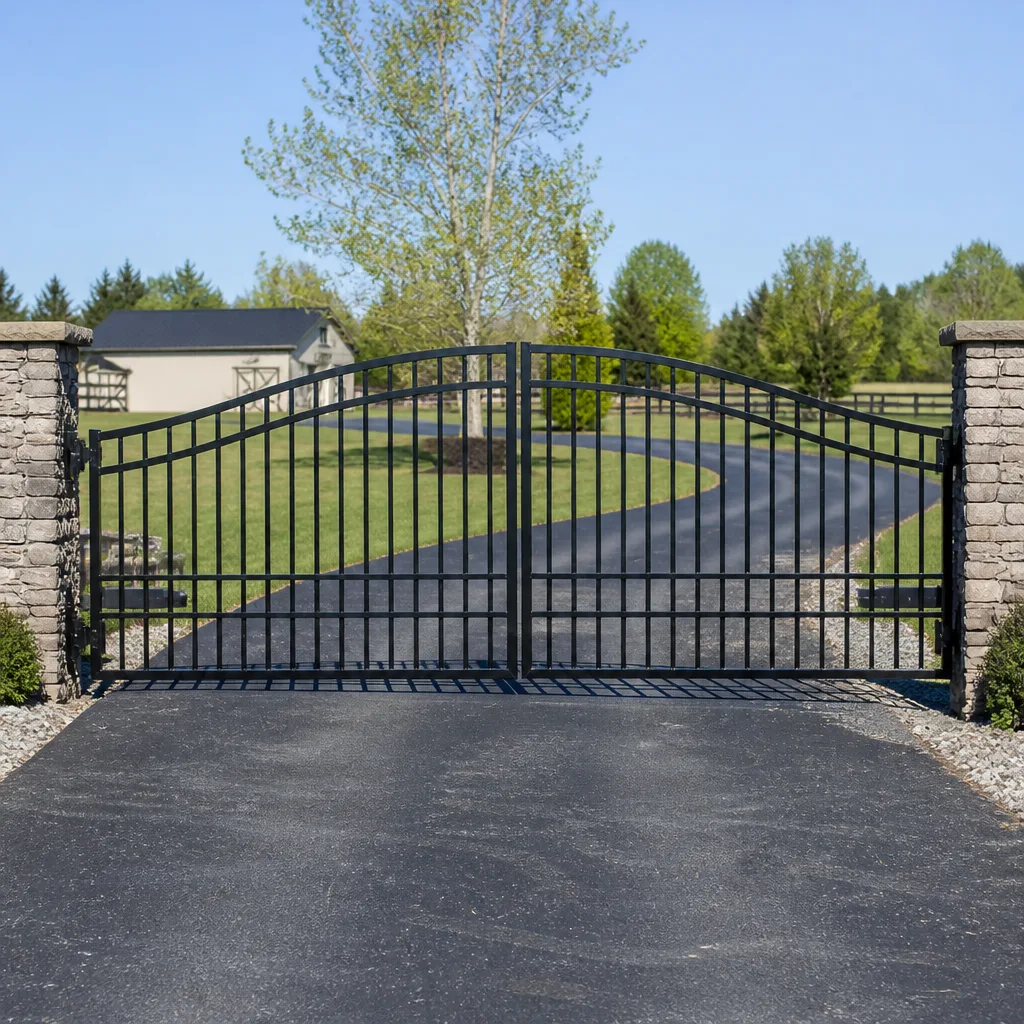 Farm & ranch
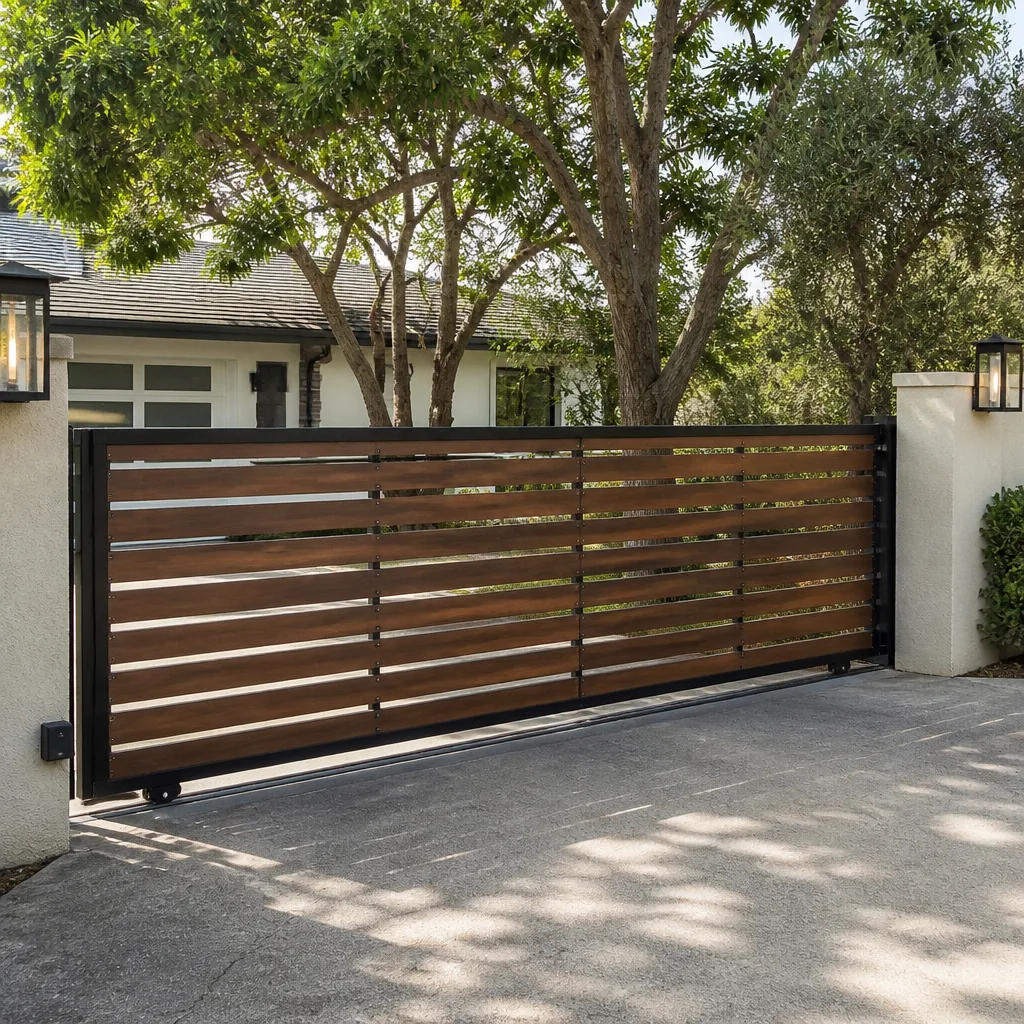 Sliding driveway gates
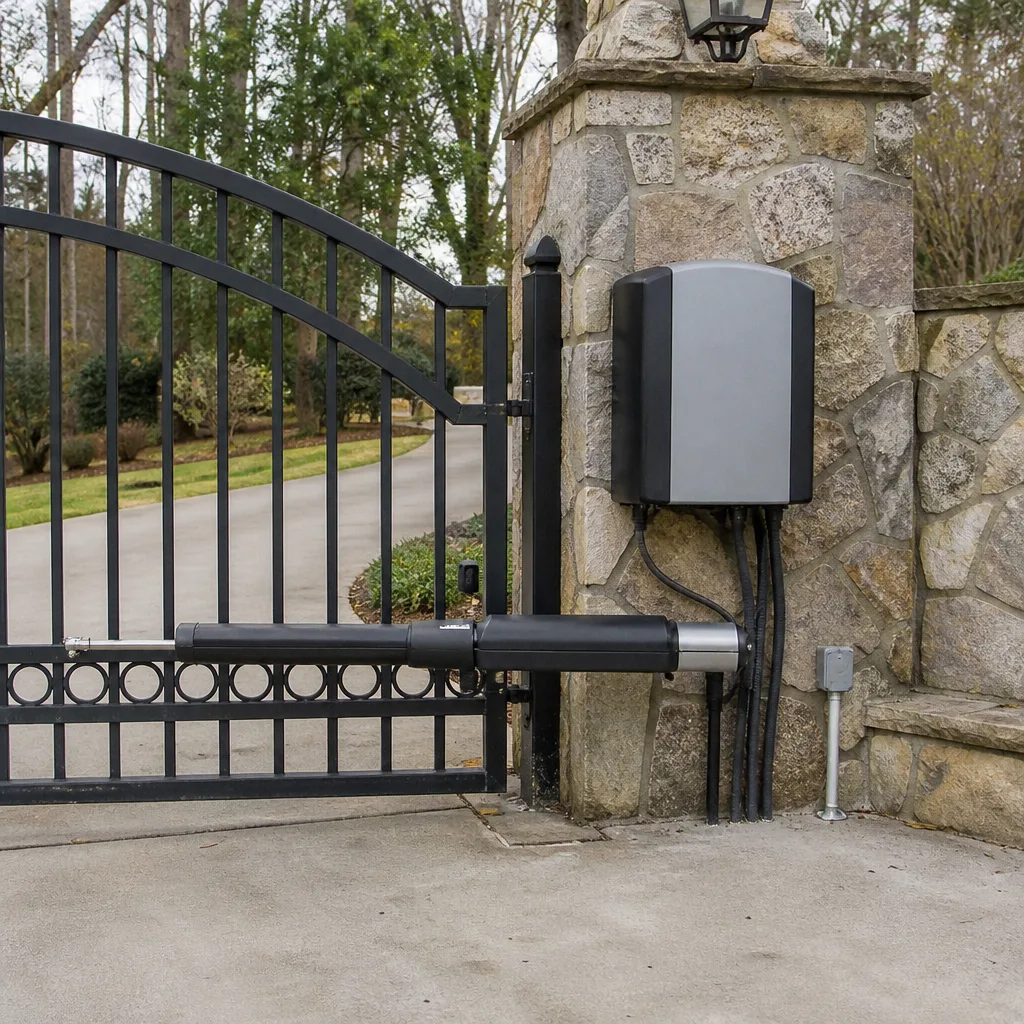 LiftMaster operators
Free on-site gate assessment - hinges, posts, and your LiftMaster or Nice gate operator checked before anything is quoted
The assessment is free and the quote is the invoice.
Get your free estimateGate Repair Emergency Preparedness Guide for Georgetown Homes
Most gate failures don’t happen when the weather is kind. They happen in the middle of a cold snap, during a storm, or on a morning when you’re already late and the arm won’t lift. The mistake most Georgetown homeowners make is assuming their gate will always fail in a way they can walk around. It won’t. A swing gate that dies closed traps your vehicles behind a wall of steel, and one that fails open leaves your driveway, courtyard, or side yard exposed until someone can get out to secure it. This guide walks you through both failure modes, the manual release on the gate operators we see most in Georgetown, how to build a gate emergency kit, and what to have ready before you call so a technician can be dispatched to you fast.
Quick Answer
A gate emergency plan for a Georgetown home means knowing three things before the gate ever fails: where the manual release is on your specific operator, how to secure the gate in the open position without damaging it, and what information a repair service needs to dispatch a technician quickly. Write those three things down, keep them somewhere you can find in the dark, and you’ll handle the next gate failure in minutes instead of hours.
Styles & brands we work with
- Wrought iron
- Wood & steel frame
- Farm & ranch
- Sliding driveway gates
- LiftMaster operators
Table of Contents
- The Two Failure Modes: Trapped vs. Exposed
- Manual Release Locations for the Brands We See Most
- How to Safely Secure a Gate That Failed Open
- Battery Backup Systems: Who Has Them and How to Test Yours
- Building Your Gate Emergency Kit
- What to Have Ready Before You Call
- Preventive Checks That Catch Failures Early
- Why Georgetown Winters Test Gate Operators
The Two Failure Modes: Trapped vs. Exposed
Every automatic gate failure lands in one of two categories, and the response is different for each. Understanding which one you’re dealing with lets you act immediately instead of standing at the keypad pressing buttons and hoping.
Failure closed: the gate is stuck in the closed position. Your vehicles can’t leave, and neither can an ambulance, a fire crew, or a delivery driver bringing something you actually need. This is the more urgent mode, especially if anyone in the house relies on a vehicle for medical reasons or if you have a service appointment scheduled. The fix is almost always a manual release, which disconnects the operator from the gate so the leaf swings free.
Failure open: the gate is stuck in the open position. It can’t close, either because the operator has lost power, a sensor is tripped, or the control board is refusing the command. Your vehicles move freely, but the property is now open to the street, which is a bigger problem on a corner lot off Williams Drive than on a long gravel driveway out toward Berry Creek.
The trap is assuming your gate will always fail in the mode that’s convenient for you. In our experience, the closed mode gets noticed fast because it’s physically blocking, but the open mode gets ignored for hours because everything “works” until you think about it. Sort out which mode you’re in first, then follow the matching path below.
Manual Release Locations for the Brands We See Most
The manual release is the single most important thing on your operator to know. It’s the mechanical override that decouples the gate leaf from the motor so you can swing it by hand. Every operator has one. Nearly every homeowner we talk to can’t tell us where theirs is. Here’s where the release sits on the operators we handle most often in Georgetown, so you can find yours and mark it.
- LiftMaster operators (residential swing and slide): the manual release lever is typically on the side or top of the operator housing, usually with a keyed cover you need to open with a small key or a screwdriver. Turn or pull the lever to disengage, then swing the gate by hand. The release key should be on your keyring, not in a kitchen drawer.
- Viking operators: Viking swing operators usually have the release lever under a lockable cover on the housing, and Viking slide operators often use a release chain or a hex-key mechanism on the motor housing. On the swing units the lever sits on the side facing the drive; on the slide units look at the end of the housing nearest the gate.
- Ghost Controls residential operators: these are common on newer residential installs and usually ship with a keyed manual release on the operator arm, near the top. The key typically lives on the same keyring as your remote, and the release lever swings out to disengage. Ghost Controls systems are DIY-friendly, so the release is designed to be reached without tools once the key is in.
- DoorKing commercial-grade operators: DoorKing units are heavier and often used on gated entries with high traffic. The manual release is normally a crank or a lever behind a locked access door on the housing. On slide operators it may be a hand crank that brings the gate back to a serviceable position. These systems are built for a technician to service; the homeowner’s job in an emergency is to locate the key and disengage.
- Elite operators: Elite swing and slide operators place the release on the housing side, usually under a small cover. On the swing units the lever is near the top of the housing; on slide units the release is often a chain or a lever accessible from the end nearest the track.
The rule is the same across all five: find the release before you need it, put the key where you can reach it in the dark, and practice disengaging the gate once, by hand, while everything is working. The first time you try to activate a manual release should not be at 11 PM with your car stuck behind the gate. If you can’t locate the release on your operator, that’s a five-minute check a technician can do on the same visit as any other repair. We handle gate repair across every one of these brands, so we can walk you through the release on your specific model.
How to Safely Secure a Gate That Failed Open
A gate stuck open is a security gap, and the fix until a technician arrives is physical, not electronic. Whatever you do, don’t try to force the operator to close by pushing against the leaf with the motor engaged, and don’t jam a brick or a rock into the track to hold the gate closed. Both of those can strip gears, crack the control board housing, or bend the gate frame, and both can void your warranty. The safe steps are:
- Disengage the operator first. Use the manual release on your brand (see the section above). With the motor disengaged, the gate swings freely and nothing you do to the leaf can damage the operator.
- Close the gate by hand if the gate is designed to swing shut, or if there’s a natural stopping point that still leaves clearance for pedestrian access. Don’t force a gate that doesn’t want to close; if the track is bent or the hinge is seized, leave it and move to the next step.
- Lock the gate in the closed position with a padlock on the gate’s own latch, not on the operator. A manual padlock is the correct tool here because it secures the gate without putting any load on the motor.
- If the gate can’t be closed, barricade the opening visibly. A pair of reflective cones, a portable barricade, or even a parked vehicle across the drive makes the opening obvious. This matters most at night, and it matters most on corner lots or through-driveways where a stranger could walk in.
- Photograph the fault. Snap the operator display, any error code, the gate position, and the sensors. Those photos make the technician’s diagnosis faster and mean less trial-and-error on the visit.
What you’re not doing is opening the operator housing and poking at the control board or the wiring. That’s the part of a gate that can genuinely hurt you: the operator runs on mains power, the capacitor holds a charge after the breaker is off, and heavy gate leaves can crush a hand or a foot if the gate moves while you’re in the pinch zone. A trained technician is the only person who should open that housing. For that side of the job, our electric gate repair team handles the diagnostics and the fix.
Battery Backup Systems: Who Has Them and How to Test Yours
Battery backup is what turns a gate failure from a two-hour problem into a non-event. If your operator has a charged backup battery, a power cut or a tripped breaker doesn’t take the gate down with it, and the gate keeps working until you can get someone out to look at the underlying fault. If it doesn’t have one, or the battery is flat, the gate stops the moment the power does.
Which Georgetown homes already have one installed? In our experience, most newer residential installs from the last several years ship with a battery backup option, and the builders and installers who set them up in subdivisions around Sun City and Wolf Ranch generally include it because the gate is the only way in and out for many of these homes. Older installs, especially manual gates that were automated later, often don’t have one. Commercial-grade operators such as DoorKing units on gated communities almost always have battery backup because the community can’t afford to be locked out.
To test yours:
- Find the battery. It’s usually a sealed lead-acid battery in a compartment inside the operator housing, sometimes a smaller pack on top of the control board.
- Look for a test button. Many operators have a battery test button on the control board or the display. Press it and watch for a status light or a display reading.
- Do a live test with the breaker off. This one is worth doing carefully: with the gate closed and no one near it, switch off the breaker that feeds the operator, then use your remote. If the gate opens, the battery is holding. Switch the breaker back on afterward.
- Check the age of the battery. Backup batteries don’t last forever. Even a battery that tested fine last winter can fail this one. If the battery is more than a few years old and the test is borderline, replace it before it matters.
If you don’t want to open the housing, a technician can test the battery, check its charging circuit, and tell you in one visit whether it will carry the gate through the next outage.
Building Your Gate Emergency Kit
The single best piece of gate preparedness is a small physical kit you keep in one place. When the gate fails, you don’t want to be digging through drawers. You want to grab one box and have everything you need. Put this together this week:
- Spare remotes, programmed and tested. Two is the right number. Keep one in the kit and one on your main keyring. A remote that dies quietly is a common failure point.
- The manual release key. Every operator that has a keyed release cover takes a specific key. Get a duplicate made if you can, and keep the original in the kit.
- An operator model card. Write down the make and model of your operator (for example, the model number on the DoorKing housing plate or the Ghost Controls label), the install date, and the name of whoever installed it. When you call, that card saves five minutes of back-and-forth.
- A photograph of the control board. One clear photo of the board and the display tells a technician a lot before they arrive: which revision you have, which terminals are used, whether the board has visible heat damage.
- Your after-hours service contact. Write our number on a card in the kit: (833) 408-4022. We answer 24/7. Fast dispatch from 7am to 7pm, Sunday through Friday.
- A small flashlight and a multi-tool. The release cover is small, and the keyhole is hard to find in the dark.
- Two reflective cones or a folding barricade. For the failure-open case, so the opening is obvious to anyone walking past after dark.
Keep the kit somewhere you can reach without a key, near the gate if the gate is the only way in. If your home has a pedestrian gate beside the driveway gate, a second small kit there is worth the effort.
What to Have Ready Before You Call
Call time is the difference between a technician dispatched on the first call and a callback. When you call a gate repair service, having this information ready cuts five to ten minutes off the dispatch and lets the technician arrive with the right part. Have these seven things in front of you:
- Your operator make and model. This is the big one. LiftMaster, FAAC, BFT, Linear, Viking, Ghost Controls, DoorKing, Elite and Mighty Mule are all brands we work on, and knowing which one you have means we know what’s likely wrong before we arrive.
- The failure mode. “Stuck closed” or “stuck open” is the first question. Add whether the gate is a swing or a slide.
- The error code or display message. If your operator has a display or a blinking LED pattern, read it out. Those codes usually point to a specific fault.
- Whether you’ve tried the manual release. Tell us if it worked, didn’t work, or you couldn’t find it. Each answer changes what to bring.
- Whether the gate has power. Did the breaker trip? Has the rest of the house lost power? Is the gate’s own breaker panel accessible?
- The gate weight and width, roughly. If you know the leaf is heavy and wide, we’ll bring the right replacement parts and the right operator for it.
- Your address and gate access details. How a technician gets to the gate, whether there’s a code, and whether anyone will be home. This saves a lot of time on arrival.
With those seven answers, an operator can be narrowed to a probable fault category in the time it takes to read them out. That’s the whole point of a pre-call checklist: it’s not a formality, it’s what gets the right technician to your gate with the right part. For the broader picture on how gate repair works in this area, see Gate Repair Georgetown.
Preventive Checks That Catch Failures Early
Most gate emergencies are the last step in a slow decline. The battery was getting weak for months. The track had a bend in it since summer. The sensors were dusty and reading intermittently. A short monthly check catches nearly all of it. None of these steps require opening the operator housing.
- Walk the track. On a slide gate, look for debris, bent rails, and worn rollers. Run your hand along the track and feel for rough spots. On a swing gate, look at the hinges and check that the leaf swings freely by hand with the operator disengaged.
- Clear the photo-eye sensors. Dust, spider webs, and leaves across the sensor lens will cause intermittent “gate won’t close” behavior that looks like a control board fault.
- Listen to the operator. A gate that’s getting louder, clunkier, or slower is telling you something’s wearing out. Catch it before the failure.
- Test the remote range. A remote that used to open the gate from the street and now only works from ten feet away usually needs a new battery, sometimes a new receiver.
- Check the manual release operates smoothly. If the release is stuck, that’s a safety issue you want to fix before you need it in an emergency.
- Test the battery backup once a season. A backup that hasn’t been tested isn’t a backup, it’s a guess.
None of these steps means you should open the operator or work on the wiring. The electrical side of a gate, including the operator motor, the control board, and the capacitor, is where a careful homeowner becomes an injured one. Leave that to a technician and keep your checks to the parts you can see and touch safely.
Why Georgetown Winters Test Gate Operators
Georgetown winters are mild on average, but they’re not uniform. When a hard freeze does hit this part of Central Texas, gate motors and batteries across the city feel it at the same time. Cold slows battery chemistry, makes grease stiff, and causes the small relays and capacitors inside an operator to work harder than they do the rest of the year. A gate that’s been limping along since fall is much more likely to quit during the first real cold snap than during a mild week. The February 2021 freeze is the clearest example of how fast that can happen and how much it matters to already have your release location and your emergency kit sorted before the freeze arrives.
The second local factor is dust. Between the hot, dry months and the spring pollen wave, the sensors and the track pick up a fine film that causes intermittent faults. A quarterly wipe-down of the photo-eye lenses and a sweep of the track handles most of it.
None of this is unique to any one operator brand. It applies whether you have a Ghost Controls arm on a residential swing gate or a commercial DoorKing unit at the entry of a gated community. The systems are different, the maintenance principle is the same: catch it before it fails. If you’d like a technician to walk your gate and set up a check schedule that fits your property, see what we do across Georgetown. Our technicians have up to 13 years of experience.
Common Mistakes to Avoid
- Not knowing where the manual release is until the gate fails. We handle gate repairs all over Georgetown, and the number one reason a homeowner is stuck for hours is that nobody in the house knows where the release is or where the key lives. Find it this week, mark it, and show everyone who drives.
- Forcing the gate by hand with the operator engaged. Pushing a stuck gate that still has the motor connected strips gears and bends gate frames. Disengage the operator first, every time.
- Jamming a brick or wood block into the track to hold a gate closed. It works for about an hour, and then the block shifts, the gate runs, and you’ve got a bent track and a damaged roller on top of whatever was already wrong.
- Opening the operator housing to “have a look.” The capacitor holds a charge after the power is off, the board can arc, and a heavy gate leaf can move without warning. This is the one repair on a gate that isn’t a homeowner job.
- Leaving a gate stuck open overnight without securing it. On a through-driveway or a corner lot, an open gate is an open invitation. Barricade it, put cones out, or close and padlock it by hand if you can.
- Calling without the model and error code. “It doesn’t work” turns a ten-minute dispatch into a thirty-minute conversation. Have the model card and the error read-out ready before you dial.
- Ignoring a weak battery backup until the next outage. A backup battery that hasn’t been tested since last winter is a guess. Test it once a season, particularly before a cold snap.
See the difference
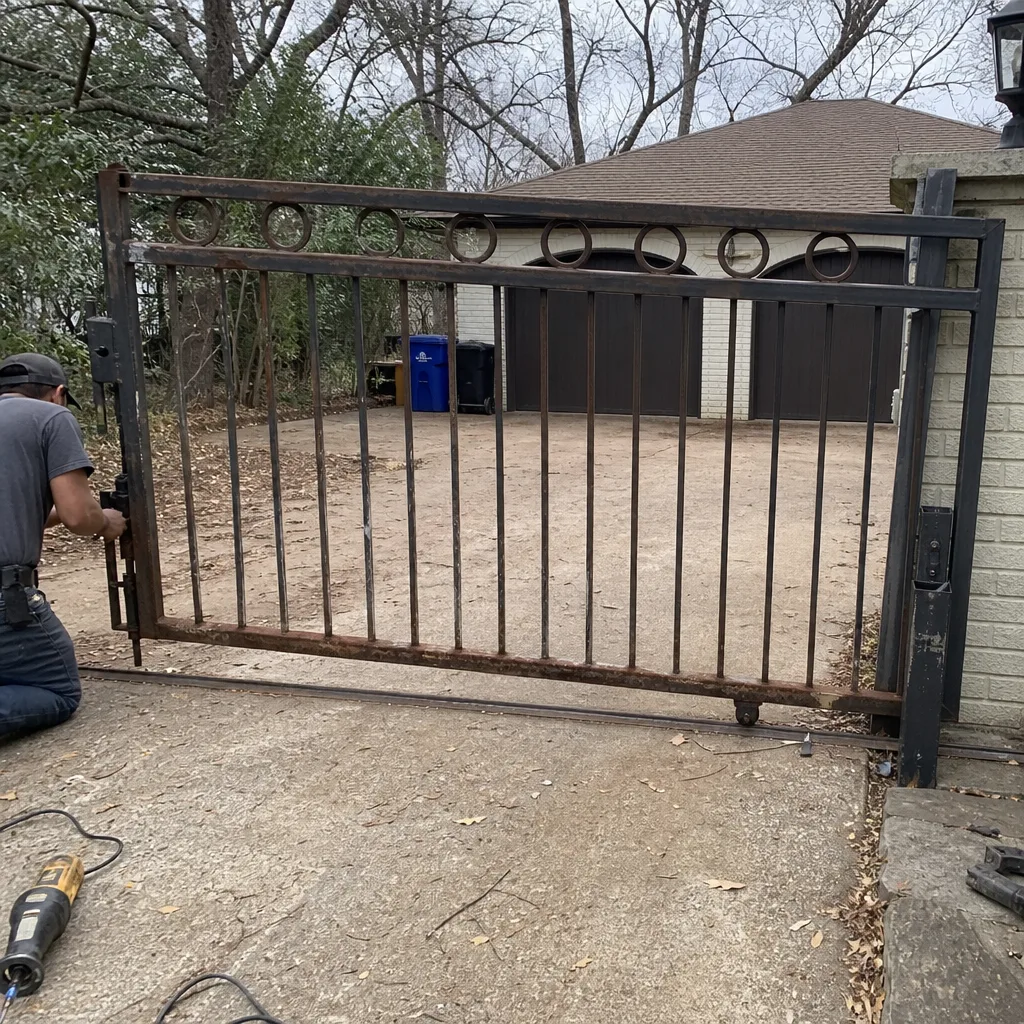 Before
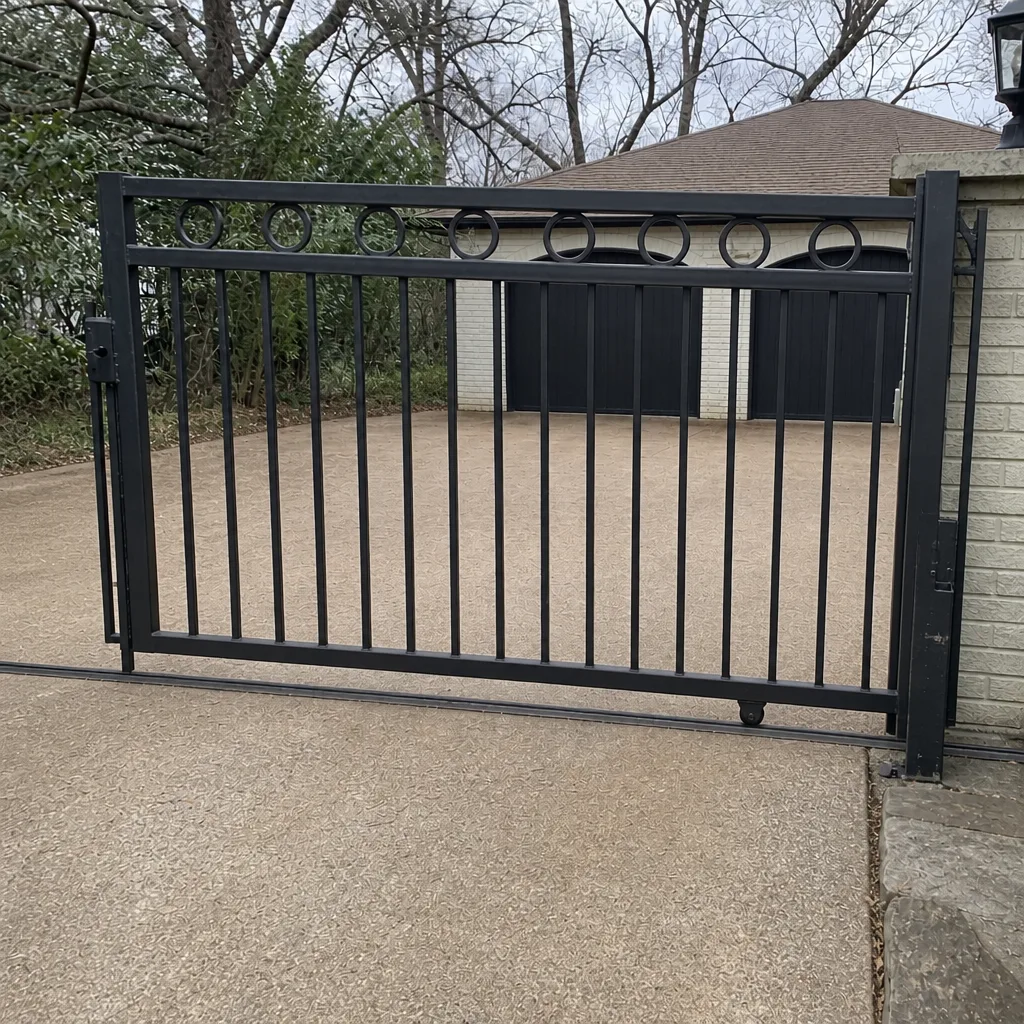 After
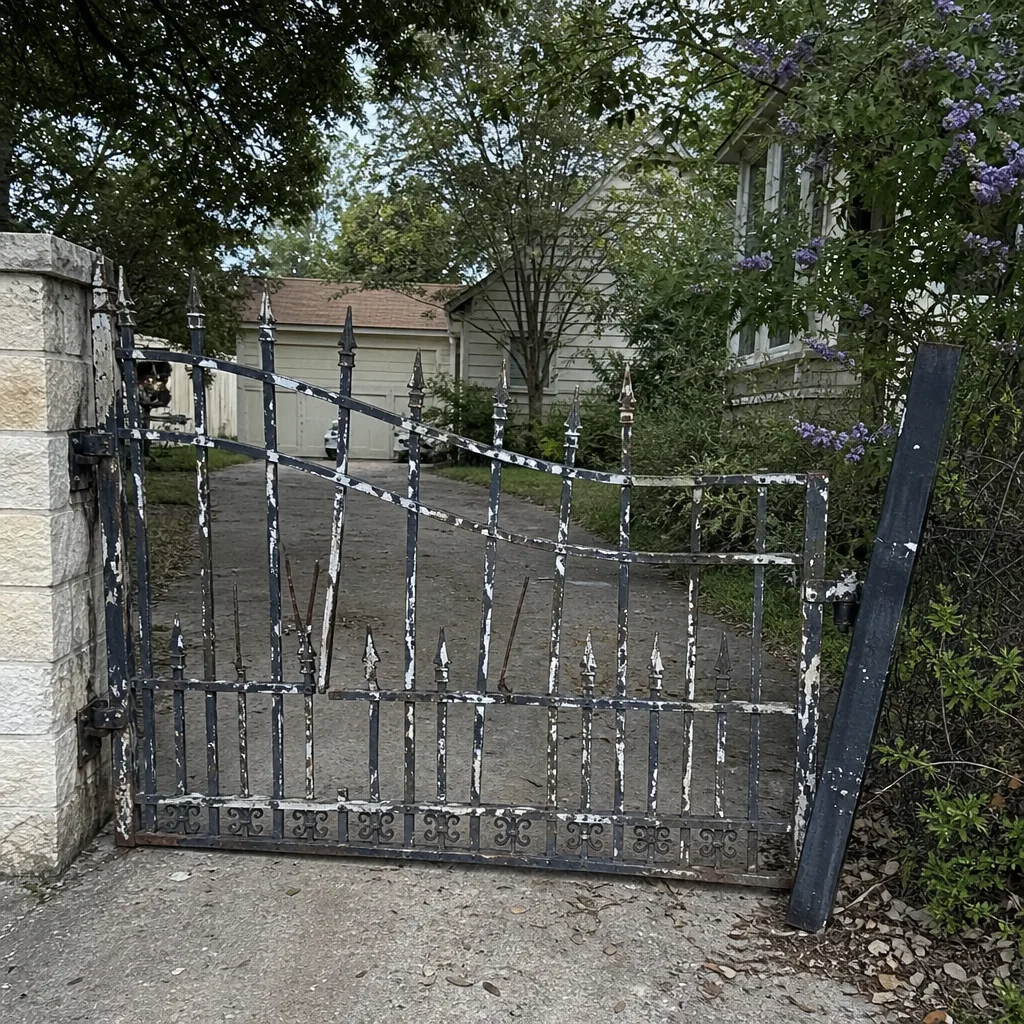 Before
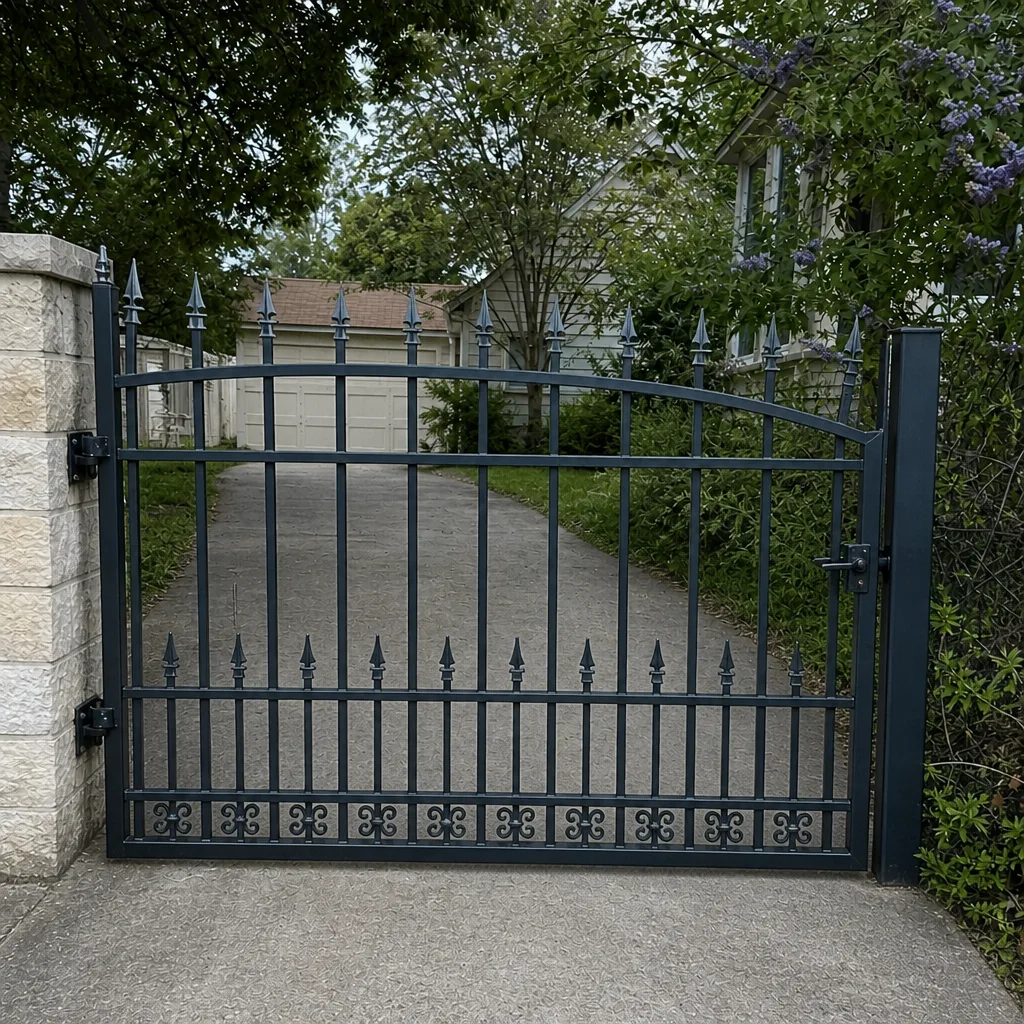 After
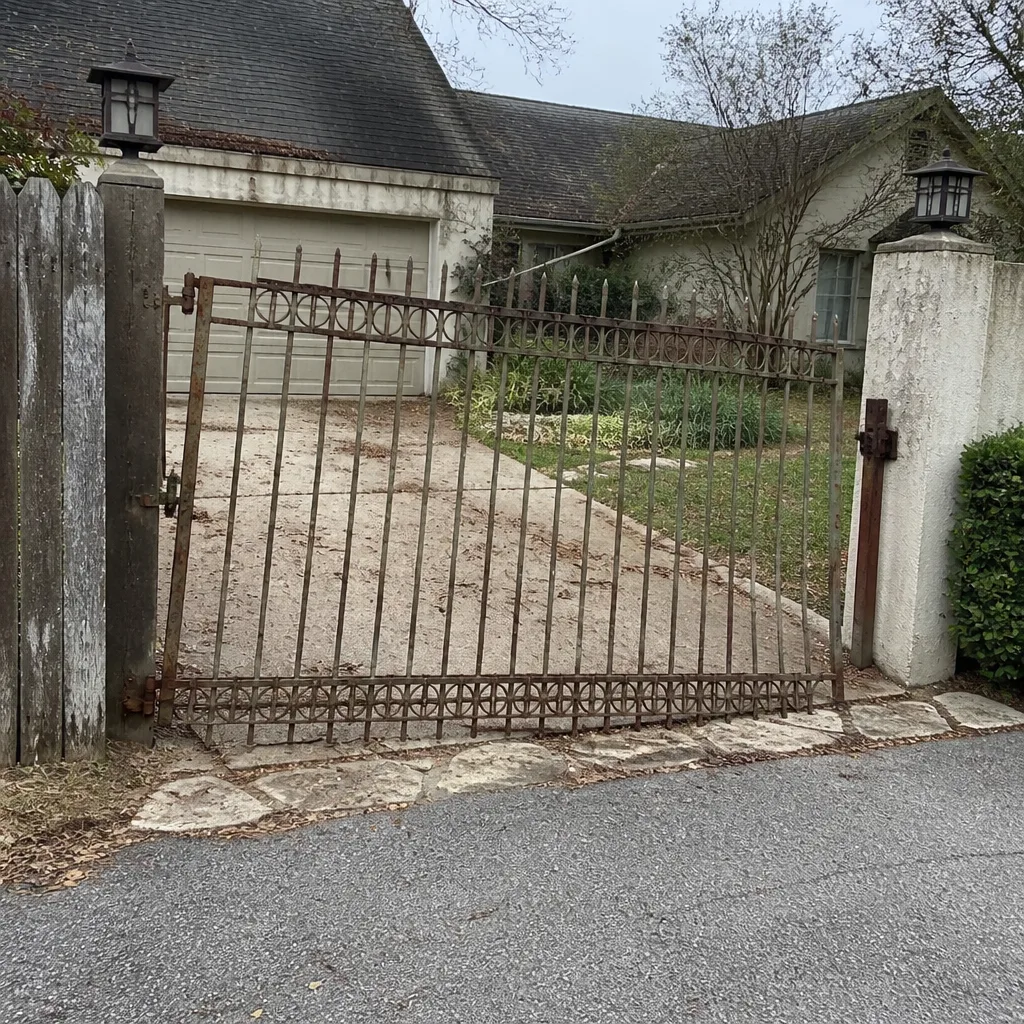 Before
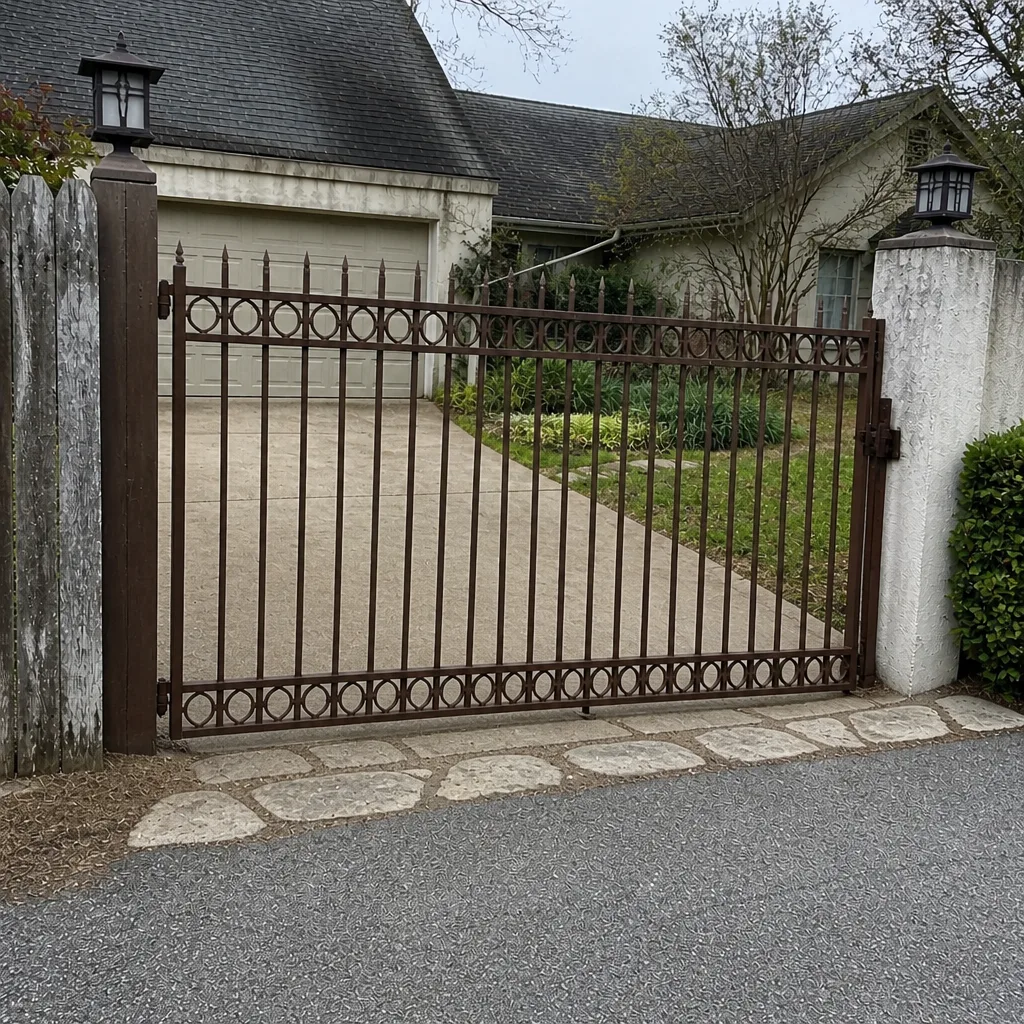 After
When to Call a Professional
Call a professional any time the gate fails in a mode you can’t safely resolve on your own. That includes: the gate is stuck closed and the manual release doesn’t work or you can’t find it; the gate is stuck open and you can’t close and secure it; the operator is throwing an error code you’ve never seen; the track is bent or a roller has come off; the gate has power but nothing happens; you’ve lost a remote and can’t program a replacement; the sensors are causing the gate to reverse unpredictably; or the battery backup isn’t holding the gate through a power cut. Any of these is a technician job, not a homeowner job, because the diagnosis is faster with the right test equipment and the fix is safer in trained hands. Gate Repair Georgetown offers free estimates in Georgetown; call (833) 408-4022 and we’ll help you sort out which failure mode you’re in and book the visit.
Frequently Asked Questions
Same-day service is available for most gate failures when you call during dispatch hours, and we’ll give you an honest arrival window when you call. We answer 24/7. Fast dispatch from 7am to 7pm, Sunday through Friday. If you call outside dispatch hours, your call is booked into the next opening. Call (833) 408-4022 for an exact time.
Look for a small keyed cover on the operator housing first, since that’s where the release sits on most LiftMaster, Viking, Ghost Controls, Elite and DoorKing units. If you can’t find it or the release won’t move, don’t force it. Call (833) 408-4022 and we’ll walk you through what to check safely over the phone and get a technician dispatched.
Yes, once you’ve disengaged the operator using the manual release. The gate swings by hand only when the motor is mechanically disconnected. Do not push a gate with the operator still engaged, because it can damage the drive gears and the gate frame. If the release itself won’t operate, call (833) 408-4022 for help.
Yes, if the battery is healthy. A properly maintained backup battery keeps the gate working through a power cut so you’re not stuck behind it. If your battery hasn’t been tested recently, or you’re not sure whether your operator has one, a technician can check it and tell you in one visit. Call (833) 408-4022 to book an estimate.
We work on LiftMaster, FAAC, BFT, Linear, Viking, Ghost Controls, DoorKing, Elite and Mighty Mule operators, covering residential DIY-grade systems and commercial-grade units alike. That range means the odds are high your operator is one we see regularly. Call (833) 408-4022 and we’ll confirm your model.
It’s worth it. A small box with spare remotes, the release key, a model card, a flashlight and our number turns a panicked call into a two-minute one. You don’t need to spend much; the value is having everything in one place when the gate fails. If you’d like help identifying your operator model so you can write the card, call (833) 408-4022.
The Bottom Line
Gate emergencies come down to two modes, trapped and exposed, and both are much easier to handle when you already know your manual release, where your key lives, and what information to give on the phone. Jot down your operator make and model, test your battery backup once a season, keep a small emergency kit near the gate, and mark the release on the housing. Those four steps are the difference between an hour of standing at the keypad and a ten-minute fix. If you’d rather a technician set your gate up so it’s ready for the next cold snap or power cut, that’s a straightforward visit.
Contact Us for a Free Estimate
If your gate is stuck, failing intermittently, or you’d just like a specialist to check it before it leaves you stranded, call us at (833) 408-4022. We answer 24/7. Fast dispatch from 7am to 7pm, Sunday through Friday. Estimates are free, and the price for any repair is set per job by the written estimate before any work starts. From a residential Ghost Controls or Mighty Mule arm to a commercial FAAC or BFT unit, we’ll diagnose it, tell you what’s wrong in plain terms, and fix it right the first time.
Written by the team at Gate Repair Georgetown.